
Click for Demo
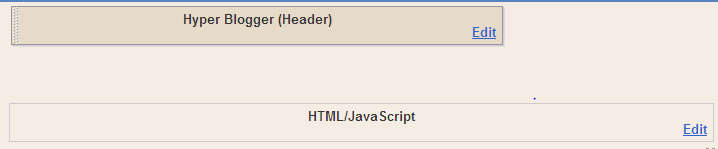
Configure Navigation Bar:
Access into Layout >> Page Elements
Click and Edit HTML/JAVA Script ( refer below image)
Copy and pase the below code into it:Edit the links in red as per your needs.
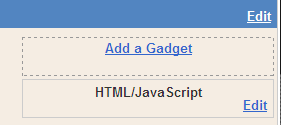
Configure Top right Social Bookmark area (Revised Code):
Access into Layout >> Page Elements
Click and Edit the top right HTML/JAVA Script ( refer below image)
Copy and paste the below code into it:
<a href="-----Your feed link here------" target="_blank"><img style="width: 37px; height: 37px;" 0="" src="http://i568.photobucket.com/albums/ss121/vinod_3466/Feed1.png" class="linkopacity1"/></a> <a href="-------Your twitter URL here------" target="_blank"><img border="0" style="width: 48px; height: 41px;" src="http://i568.photobucket.com/albums/ss121/vinod_3466/twitter1.png" class="linkopacity1"/></a> <a class="addthis_button" href="http://www.addthis.com/bookmark.php"><img border="0" style="width: 35px; height: 35px;" src="http://i568.photobucket.com/albums/ss121/vinod_3466/addthis1.gif" class="linkopacity1"/></a>Edit the links in red as per your needs.
Configure tabs:
Access into Layout >> Page Elements
Click on the tab number, in which you want to add contents. (Refer below image)

Just add gadgets according to your use in .
Add Image Gallery:
To add an image gallery with fade effect, write the normal code for image and simply add class="linkopacity" to img attribute. see the example below
<a href="http://i568.photobucket.com/albums/ss121/vinod_3466/FW005_1024x768.jpg" ><img style="width: 161px; height: 107px;" class="linkopacity" src="http://i568.photobucket.com/albums/ss121/vinod_3466/th_FW005_1024x768.jpg" /></a>To remove the border for the image, add class="exception" to the img attribute.


0 comments:
Post a Comment